Tiger pastel portrait step by step demonstration.
******************************************************
Click on the images below to enlarge!
******************************************************
Click on the images below to enlarge!
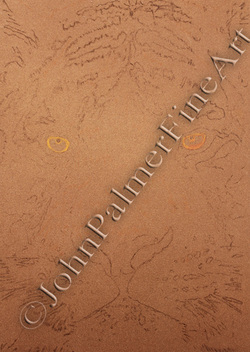
Tiger pastel portrait demo Stage 1
Sketching in the basic details.
Sketching in the basic details.
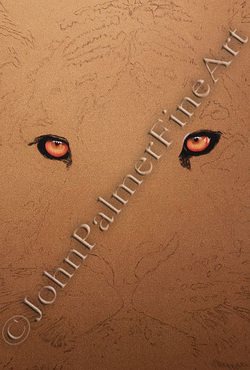
Tiger pastel portrait demo Step 2
I like to get the eyes in next - more work to do on them in the final stages.
I like to get the eyes in next - more work to do on them in the final stages.
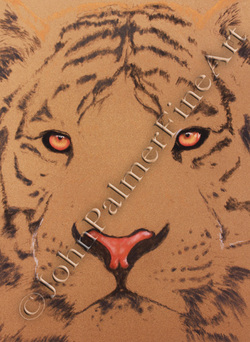
Tiger pastel portrait demo Step 3
Starting to map out the markings and the basics of the nose.
Starting to map out the markings and the basics of the nose.
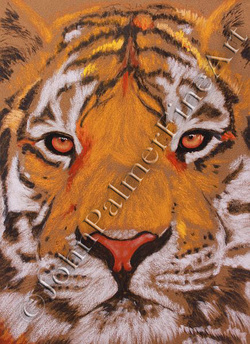
Tiger pastel portrait demo Step 4
Here I have roughed in some of the whites and am generally playing around with colour choices before getting too detailed.
Here I have roughed in some of the whites and am generally playing around with colour choices before getting too detailed.
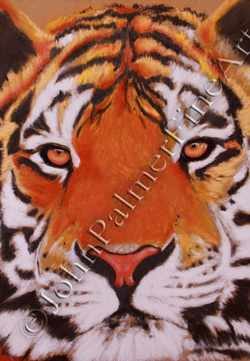
Tiger pastel portrait demo Step 5
In this stage I have been adding more layers to the markings and blocking in some of the richer colours to the face. Still feeling my way with this, lots more experimentation with colour layering to come.
In this stage I have been adding more layers to the markings and blocking in some of the richer colours to the face. Still feeling my way with this, lots more experimentation with colour layering to come.
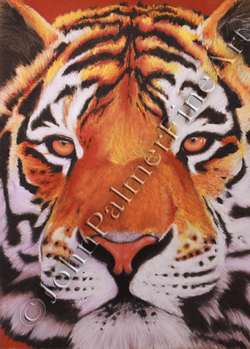
Tiger pastel portrait demo step 6
Although it might not appear so at first glance, quite a few hours work have been necessary to get to this stage, most of which being concerned with building up more layers of various colours, without which the finished work would look a little 'flat'.
I have also been working on the shadowed white fur, again experimenting with various mauves/purples until satisfied.
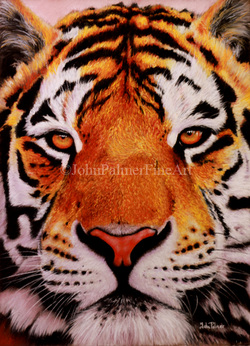
Tiger pastel portrait demo step 7
This is the finished pastel, the majority of the work from the previous step has been concerned with enriching the colours area by area and layer by layer and spending a considerable amount of time attending to the final details. These are best left until last, as you will want to avoid creating more pastel dust once satisfied you have taken the work as far as you wish to.
This is the finished pastel, the majority of the work from the previous step has been concerned with enriching the colours area by area and layer by layer and spending a considerable amount of time attending to the final details. These are best left until last, as you will want to avoid creating more pastel dust once satisfied you have taken the work as far as you wish to.
 RSS Feed

